Setting Up Ticket Types
You can create multiple ticket types for an event on Luma.
On web, you can go to Manage Event > Registration to see your ticket types. On iOS, you'll find the ticket types under Registration.
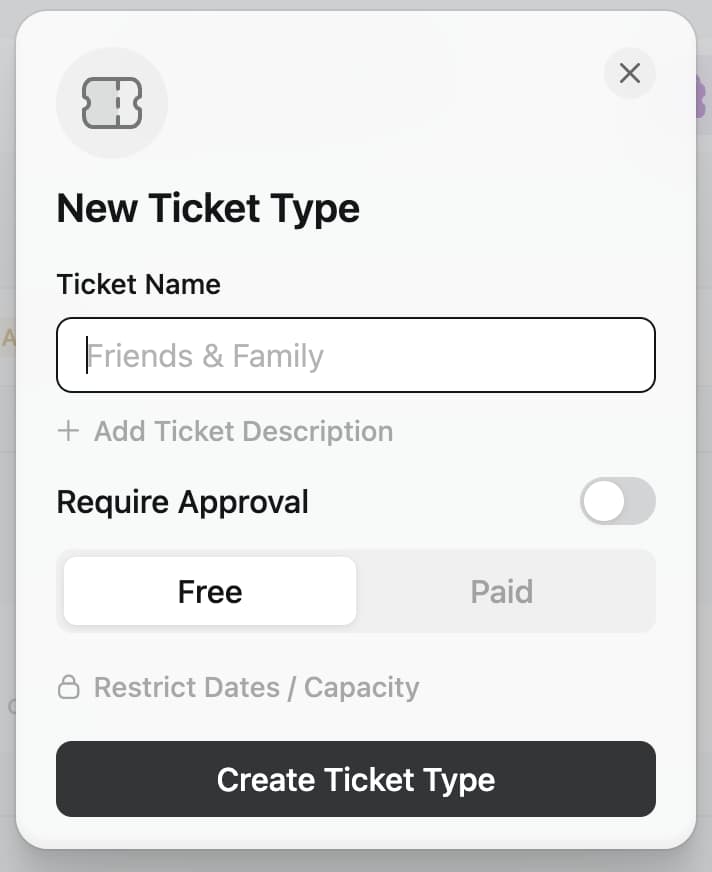
When setting up or editing a ticket type, you'll have a few options:
-
Ticket Name — Required. This should be short. Note: if you only have one ticket type, the name won't be displayed to guests (it will appear as "Standard" in some management views). Ticket names are only shown when you have multiple ticket types.
-
Ticket Description — We recommend keeping it simple and not including a description. If the ticket requires a description, we recommend keeping this short as well.
-
Require Approval — On or Off. With require approval on, guests will become "Pending" once they register. We support this for both free and paid tickets.
Note: if you invite someone to an event, then they will be automatically approved when they register, even if you have require approval on. -
Payment Type — Free or Paid. For a paid ticket, you can choose the price in any supported currency. You can also make the amount flexible and set a minimum and suggested prices.
-
Dates / Capacity — These are advanced features that allow you to restrict when the ticket type is available.
- Sales Start / End — This allows you to control when the ticket becomes available. This is useful for early bird tickets or pre-sales.
- Total Tickets — This is the capacity for the ticket. Once there are a certain number of tickets approved, then the ticket will be marked as sold out.
You can hide a ticket type to make it invisible to guests. Note that you'll need to have multiple ticket types in order to hide one because at least one ticket type must be shown on the event page. Hidden tickets may still be accessed through unlock codes.
You can also permanently delete a ticket type. If you delete a ticket type, guests with that who have already registered for that ticket type will not be affected.
Changing Ticket Settings After Registration
When you modify ticket settings after guests have already registered, their existing registrations remain unchanged. This applies to:
- Require Approval: If you toggle this setting, existing registrations keep their current status. For example, pending registrants stay pending even if you turn off approval requirements, and approved guests remain approved if you turn on approval requirements.
- Pricing: Changing a ticket from free to paid (or vice versa) or adjusting the price doesn't affect guests who have already registered. They keep the price they originally registered with.
- Other Settings: Similar principles apply to other ticket modifications – existing registrations maintain their original terms.